Showing posts with label Refinishing Hardwood Floors. Show all posts

12.16.2015

Protecting Hardwood Floors with Tennis Balls

New, beautiful hardwood floors have to be protected from furniture legs- but so many protectors are expensive or just don't work... see how she protected her floor with tennis balls!


Now that my hardwood floors have been refinished (hallelujah), I'm freaking out like a crazy person every time I drop a spoon ("Did it DENT my floor??").

It's all about authenticity, right?

Honestly, though, I know that these floors are going to be lived on. Life will happen on these floors. I will drop stuff and dent the floor. I will scratch it up. God willing, someday a child may scribble on it with crayon. That's life. I get it.

But, just because I know damage will happen doesn't mean that I won't prevent it if I can. We learned, during the restoration, that this is it for the kitchen- there's not enough of the hardwood left to refinish the floor again. When the time comes that the kitchen floor is kaput (hopefully like, 50 years from now), we'll be replacing it, not reclaiming it.

I'd like to keep my floors as protected as possible, and being that furniture tends to be the toughest on floors, I wanted to keep chair legs and tables from scraping up all our hard work.


12.02.2015

Refinishing Hardwood Floors: The Tips and The Tools


Reclaiming our hardwood floors ended up just like most remodels:

More time consuming than we expected it would be.

In part, that's because we're both working full time, and because there were some unexpected delays thrown in there.

And in part, it's because we're a little... optimistic.

In truth, refinishing our hardwood floors, by ourselves (with the exception of some much appreciated family and friends who we begged to come help us), was a lot of work. There are a lot of details that I didn't realize were a part of this project.

And we ended up needing a lot more stuff than I thought we would... a lot of it that I wouldn't have ever thought we could need. It's a really good thing that I have a hubby who's experienced in these kind of projects and had a lot of this on hand- otherwise we would have had to make far more trips to the hardware store than we did.

11.25.2015

Prepping and Varnishing! (Refinishing Hardwood Floors, Part 4)

Refinishing hardwood floors prepping and varnishing

Just when it seemed that I'd be covered in sawdust for eternity... our hardwood floors were: 


... and now there was just one more thing left on the list--

Varnish. 

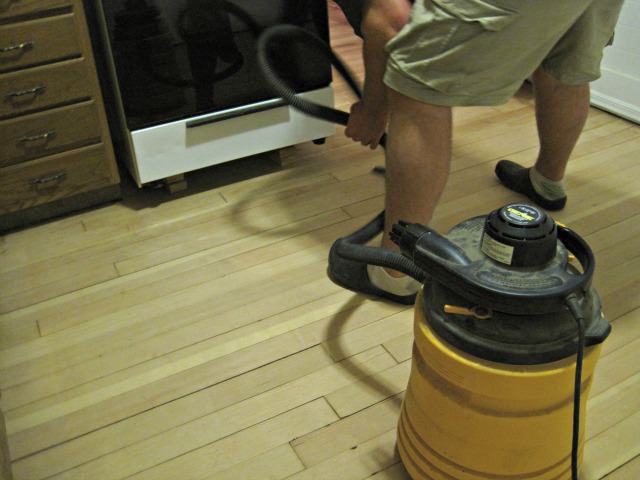
man vacuum hardwood floor shop vac

11.19.2015

How to Repair a Hole in a Hardwood Floor

Repairing a hole in a hardwood floor- DIY

**This post contains affiliate links**


We interrupt your sanding-hardwood-floors pleasure to bring you...


Hole in Hardwood floor: repairing hole in hardwood floor

This hole.

Yep.

My kitchen floor- the one I've been scraping glue off of and sanding down tirelessly? It had a hole in it.

11.18.2015

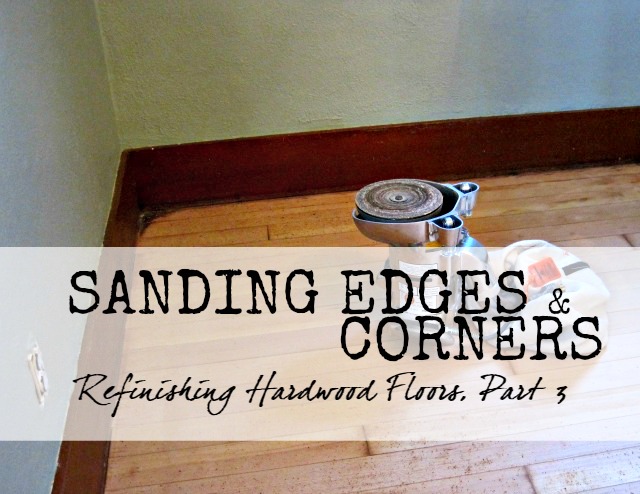
Sanding Edges and Corners (Refinishing Hardwood Floors, Part 3)

Sanding edges and corners hardwood floor refinish

**This post contains affiliate links**

Okay, so, we'd already pulled up carpet and removed glue from our hardwood floors, and then sanded them down using a drum sander. The next step was to sand those areas that the drum sander just couldn't hit- mainly the edges and the hard-to-reach spots.


Hardwood floor edges


See those dark edges? The drum sander couldn't reach all the way to each wall, so it was time to get out the edger. We rented an edging sander from our local hardware store, and called in some forced labor volunteers to help us out.

 Honestly, I don't know that we would have gotten everything done nearly as well or as quickly as we did without the help of our cousin and a co-worker who put in some long, crouched over hours helping us out. 

11.04.2015

Sanding Hardwood Floors with a Drum Sander (Refinishing Hardwood Floors, Part 2)


**This post contains affiliate links**

Well.

Last time I wrote about our floors, I had just gotten done removing the carpet adhesive and vinyl glue from three rooms- it was the first step in refinishing our beautiful, original, 1934 hardwoods.

After that long process, I was so excited to get to sanding-- after all, it couldn't possibly take as long as scraping all that glue, right?

Mmm.

10.05.2015

Removing Glue (or Adhesive) from Hardwood Floors

**This post contains affiliate links**

It started with the carpet.

Our little 1934 farmhouse had a tiny kitchen... that was carpeted.


I knew from the get-go that I didn't really want to have carpet in the kitchen (mostly because I'm a klutzy mess and I'm sure that the poor carpet would be covered in spaghetti-sauce stains about 4 minutes after I moved in)...

... but realizing that the carpet was covering the original, 1934 hardwood floors made me even more determined to get rid of it and reclaim those beautiful floors!

In fact, I figured, while I was at it, why not reclaim ALL the hardwood floors???